


🚀 Elevate Your Creativity with the Ender 3 V2!
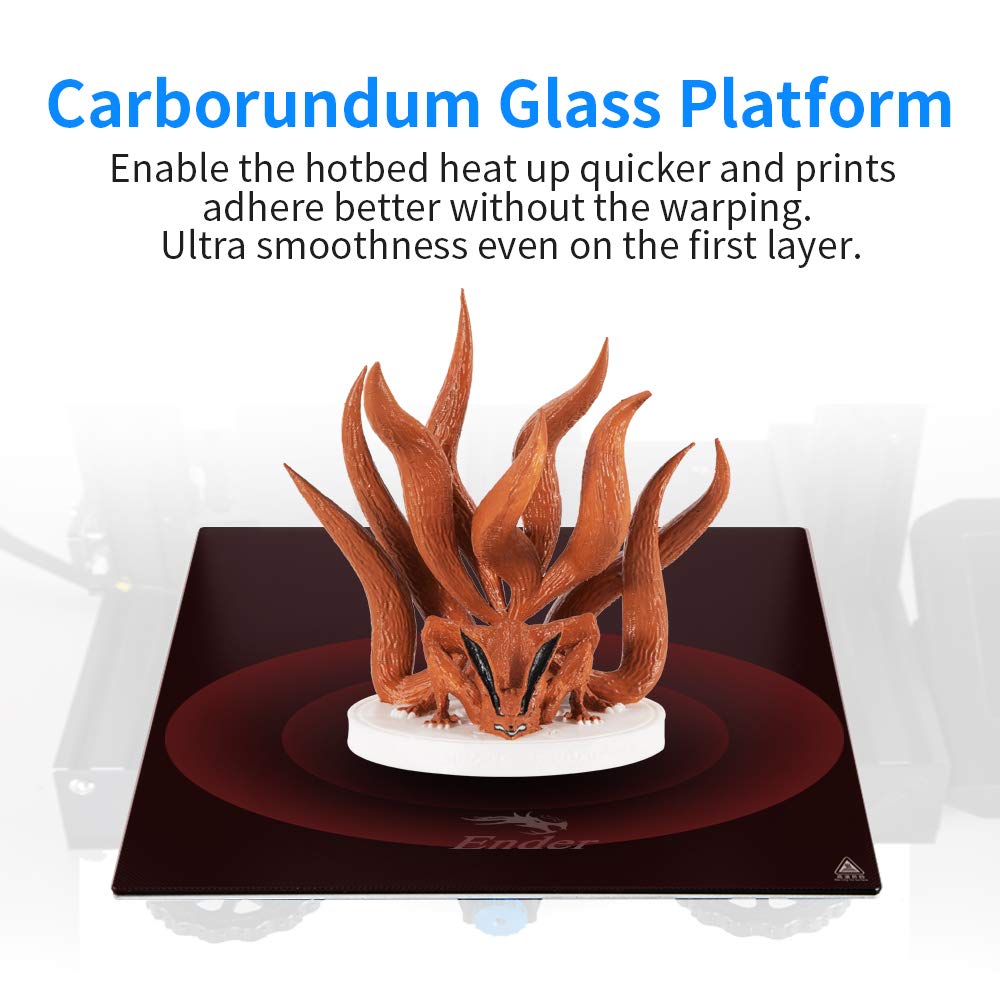
The Official Creality Ender 3 V2 is an upgraded 3D printer featuring a silent motherboard for quiet operation, a UL certified power supply for safety and efficiency, and a user-friendly interface with a smart color screen. It boasts a resume printing function to save your work during power interruptions and a carborundum glass platform for optimal adhesion and heat distribution.


| Item Weight | 15.4 Pounds |
| Item Dimensions D x W x H | 17.32"D x 17.32"W x 18.31"H |
| Printing Technology | --- |
| Compatible Material | Polylactic Acid |
| Voltage | 230 Volts |
| Connectivity Technology | USB, SD Card |
| Operating System | Windows, macOS |
| Power Consumption | 350 Watts |
| Compatible Devices | Laptop, Personal Computer |
| File Format | OBJ,AMF,STL,GCODE |
| Enclosure Material | Aluminum |
L**Z
Amazing printer!
The Ender 3 marked my entry into the 3D-printing world, and I love it! The 3D printer has been a godsend! If you're also newbie and searching for advice, here's my brief take on the Ender 3. It's awesome!The Ender 3 arrives in pieces that you must assemble. Since it is essentially a robot, assembly can seem overwhelming at first, but if you take it one step at a time, you'll be printing in no time. I found the printed instructions accompanying the unit to be more sizzle than steak, but, fortunately there are several videos on YouTube that make assembly a breeze. Believe it or not, assembling the unit yourself is beneficial because it familiarizes you with the device. It will allow you to easily make the minor adjustments that 3D printers often require.My wife and I have found that 3D printing comes with somewhat of a steep learning curve, but it's fun. YouTube and websites such as "all3DP dot com" have proven themselves to be life savers.The most common adjustments you'll make while 3D printing is "bed leveling." In truth, though, you're not actually "leveling" the print bed, but rather you're ensuring that the print nozzle is uniformly distanced from the bed (the print surface) on all its 4 corners. The nozzle needs to be super close, too. ...not about an inch or two away from the print bed, but rather it needs to be no further than the thickness of a piece of paper. Crazy, huh?When my wife and I printed a test file provided by Creality (the manufacturer), we frankly sat mesmerized at the unit's precision. It was like staring into a campfire and getting lost in the flames. The nozzle just zipped back and forth across the print bed leaving tiny bits of corn-based "plastic" one layer at a time, and eventually (over time) created a cat/dog thingy.In search of more things to print, we settled on two websites with tons of 3D-printable files that are very often free to download. The websites are "thingiverse dot com" and "cults3d dot com". The latter site takes longer to load, but seems to have more options. Creality has one too, but I haven't really checked it out yet. It's important to note that the files you download from such websites are *.stl files, whereas the Ender 3 needs *.gcode files. To make the file conversion, we downloaded a piece of software called Cura. It appears to be the best (free) software on the market for "slicing" 3D files into *.gcode files. That too has a steep learning curve, complete with complicated settings. But fortunately there are lots of tutorials online along with settings you can copy from experts. I mostly rely on "all3DP dot com" for that.After a while, we decided to invent our own designs and then print them into existence. In my opinion, the cat's meow -- the best and easiest 3D design application -- is Fusion360. It has a limited free version for students and schools, but otherwise it's quite pricey. My wife then found free, open-sourced design software called FreeCAD. We love it, and haven't turned back since.The filament we prefer is PLA. In our experience, PLA produces little to no fumes and it's guilt-free because it's corn-based and biodegradable. It should be noted, though, that not all PLA is created equally. This is primarily because (according to what I've read) pigments affect the PLA in different ways. So, when I order PLA from Amazon, I always look for the PLA with the most and highest reviews. Then, I refer upon their temperature recommendations.Overall, we absolutely love the Ender 3. At under $200, it's extremely affordable, and the process of printing things into existence can be (in my experience) somehow transformative. And if you find yourself confused about something, take my advice by not wasting time by trying to figure it out for yourself. Just refer to the experts on any of the websites I mentioned so, later on, you can focus on things that really matter...like design.Note: the bearing on a little fan went out. So, I reached out to Comgrow, they got back to me immediately, and now a new fan is on the way. No fuss no muss.Finally, at the risk of getting to personal, I'm a disabled veteran who benefits from focusing on tangible things. The process of 3D printing has proven itself to be such a godsend in that regard, that I think the VA should seriously explore ways of getting more vets 3D printing.I hope this helped newbies like me. Happy printing!
D**D
I wanted this to work well but customer service is great!
EDIT: Update 8-9-18The company reached out to me and offered to replace some of the parts that I was having trouble with. I've changed the review from 3 stars to 5 starts for excellent customer service.Original review:I wanted so bad for this printer to be the best entry level printer on the market. Key word: wanted. I purchased this at the end of June as a small step into the 3D printing arena. With the success of the CR-10 (made by the same company as the Ender 3), I felt that the Ender 3 was a wonderful option if you didn't have a need for the large print space that the CR-10 has and were on an entry level budget. That's not to say that the Ender 3 has a small print space. For the price range, this has one of the largest. Assembly of the Ender 3 can definitely test your patience. If everything is not lined up just perfectly when you tighten all of the screws down, your end result will be a wobbly 3D printer. (FYI, the packaging that the printer came in helps resolve this issue if you set the printer on top of it.) Some of the first prints that I did weren't difficult to print as I wanted to ease into all of the features this has. Here's a quick list of my pros and cons:Pros:- Ease of use - The menus are easy to find and understand. It's incredibly simple to put your stl file on the micro SD card and start printing. While the placement of where the SD card goes in is a bit of a headache, you can get used to it over time.- Bed surface - I like the surface of the heated bed as it really grabs the plastic and it's one less thing you have to worry about (i.e. putting glue on the bed). Some times, it can grab the print a little too well and it makes removal quiet interesting.Cons:- Quality - In general, overall quality of the printer is lacking, but that just may be par for the price point. Prints can greatly vary from "it looks fine" to "what happened?" While I admit some of this may be my fault and inexperience with Cura, I've found that printing the same successful print can also give different results without any of the files being changed. Another quality issue were the rollers either being too tight or too loose from the factory. While some experienced 3D printing people know to look for this, someone who is taking this printer as their first step may not know how this will affect their prints.- Heated bed - Again, I like the build surface of the bed but I thoroughly dislike the bed overall. After spending so much time and effort into leveling the bed, making sure that all four corners are the right height and stay there consistently, disheartened is the best way to describe how it feels when you try and level the center of the bed. No matter what I did, the center of the bed was always too far from the nozzle. To fix this, I raised the bed but that causes all of the corners to now be too close to the nozzle. After much searching online, I came to find that this is a common issue and that the bed could be "cupped". A simple fix is to buy a 235mm x 235mm glass bed but that can be like throwing money at the problem.- PTFE tube and couplers - This issue may not present itself in the beginning but over time, you may notice consist under-extrusion (like having holes or gaps in the print lines) no matter what your settings are. A quick synopses of the issue is the coupler that holds the PTFE tube in the hotend slowly lets the tube back out as filament is fed in. This causes the filament to melt and expand to create a jam. No matter what your settings are in general, you're going to end up with poor print quality. There are videos online on how to get around this but again, you're spending money to fix the problem.Overall, I recommend this printer. While my experience may be vastly different from someone else, I seem to be having a similar experience to many other people online. I love the price point of the printer and that it helps you understand the 3D printing world. My advice is to do your homework. If this printer is exactly what you want and you don't mind that you may have to learn some things to get this running smoothly, then I hope my review has given you some insight.
Trustpilot
1 week ago
1 month ago